
How to pick the best pumpkin and winter squashes for eating
Which pumpkins to bake?
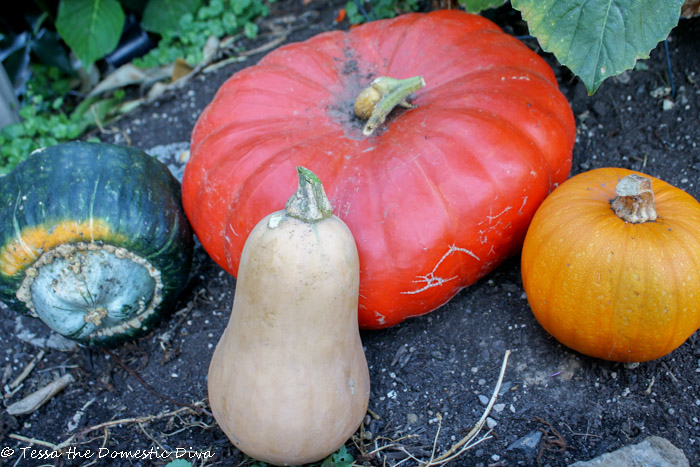
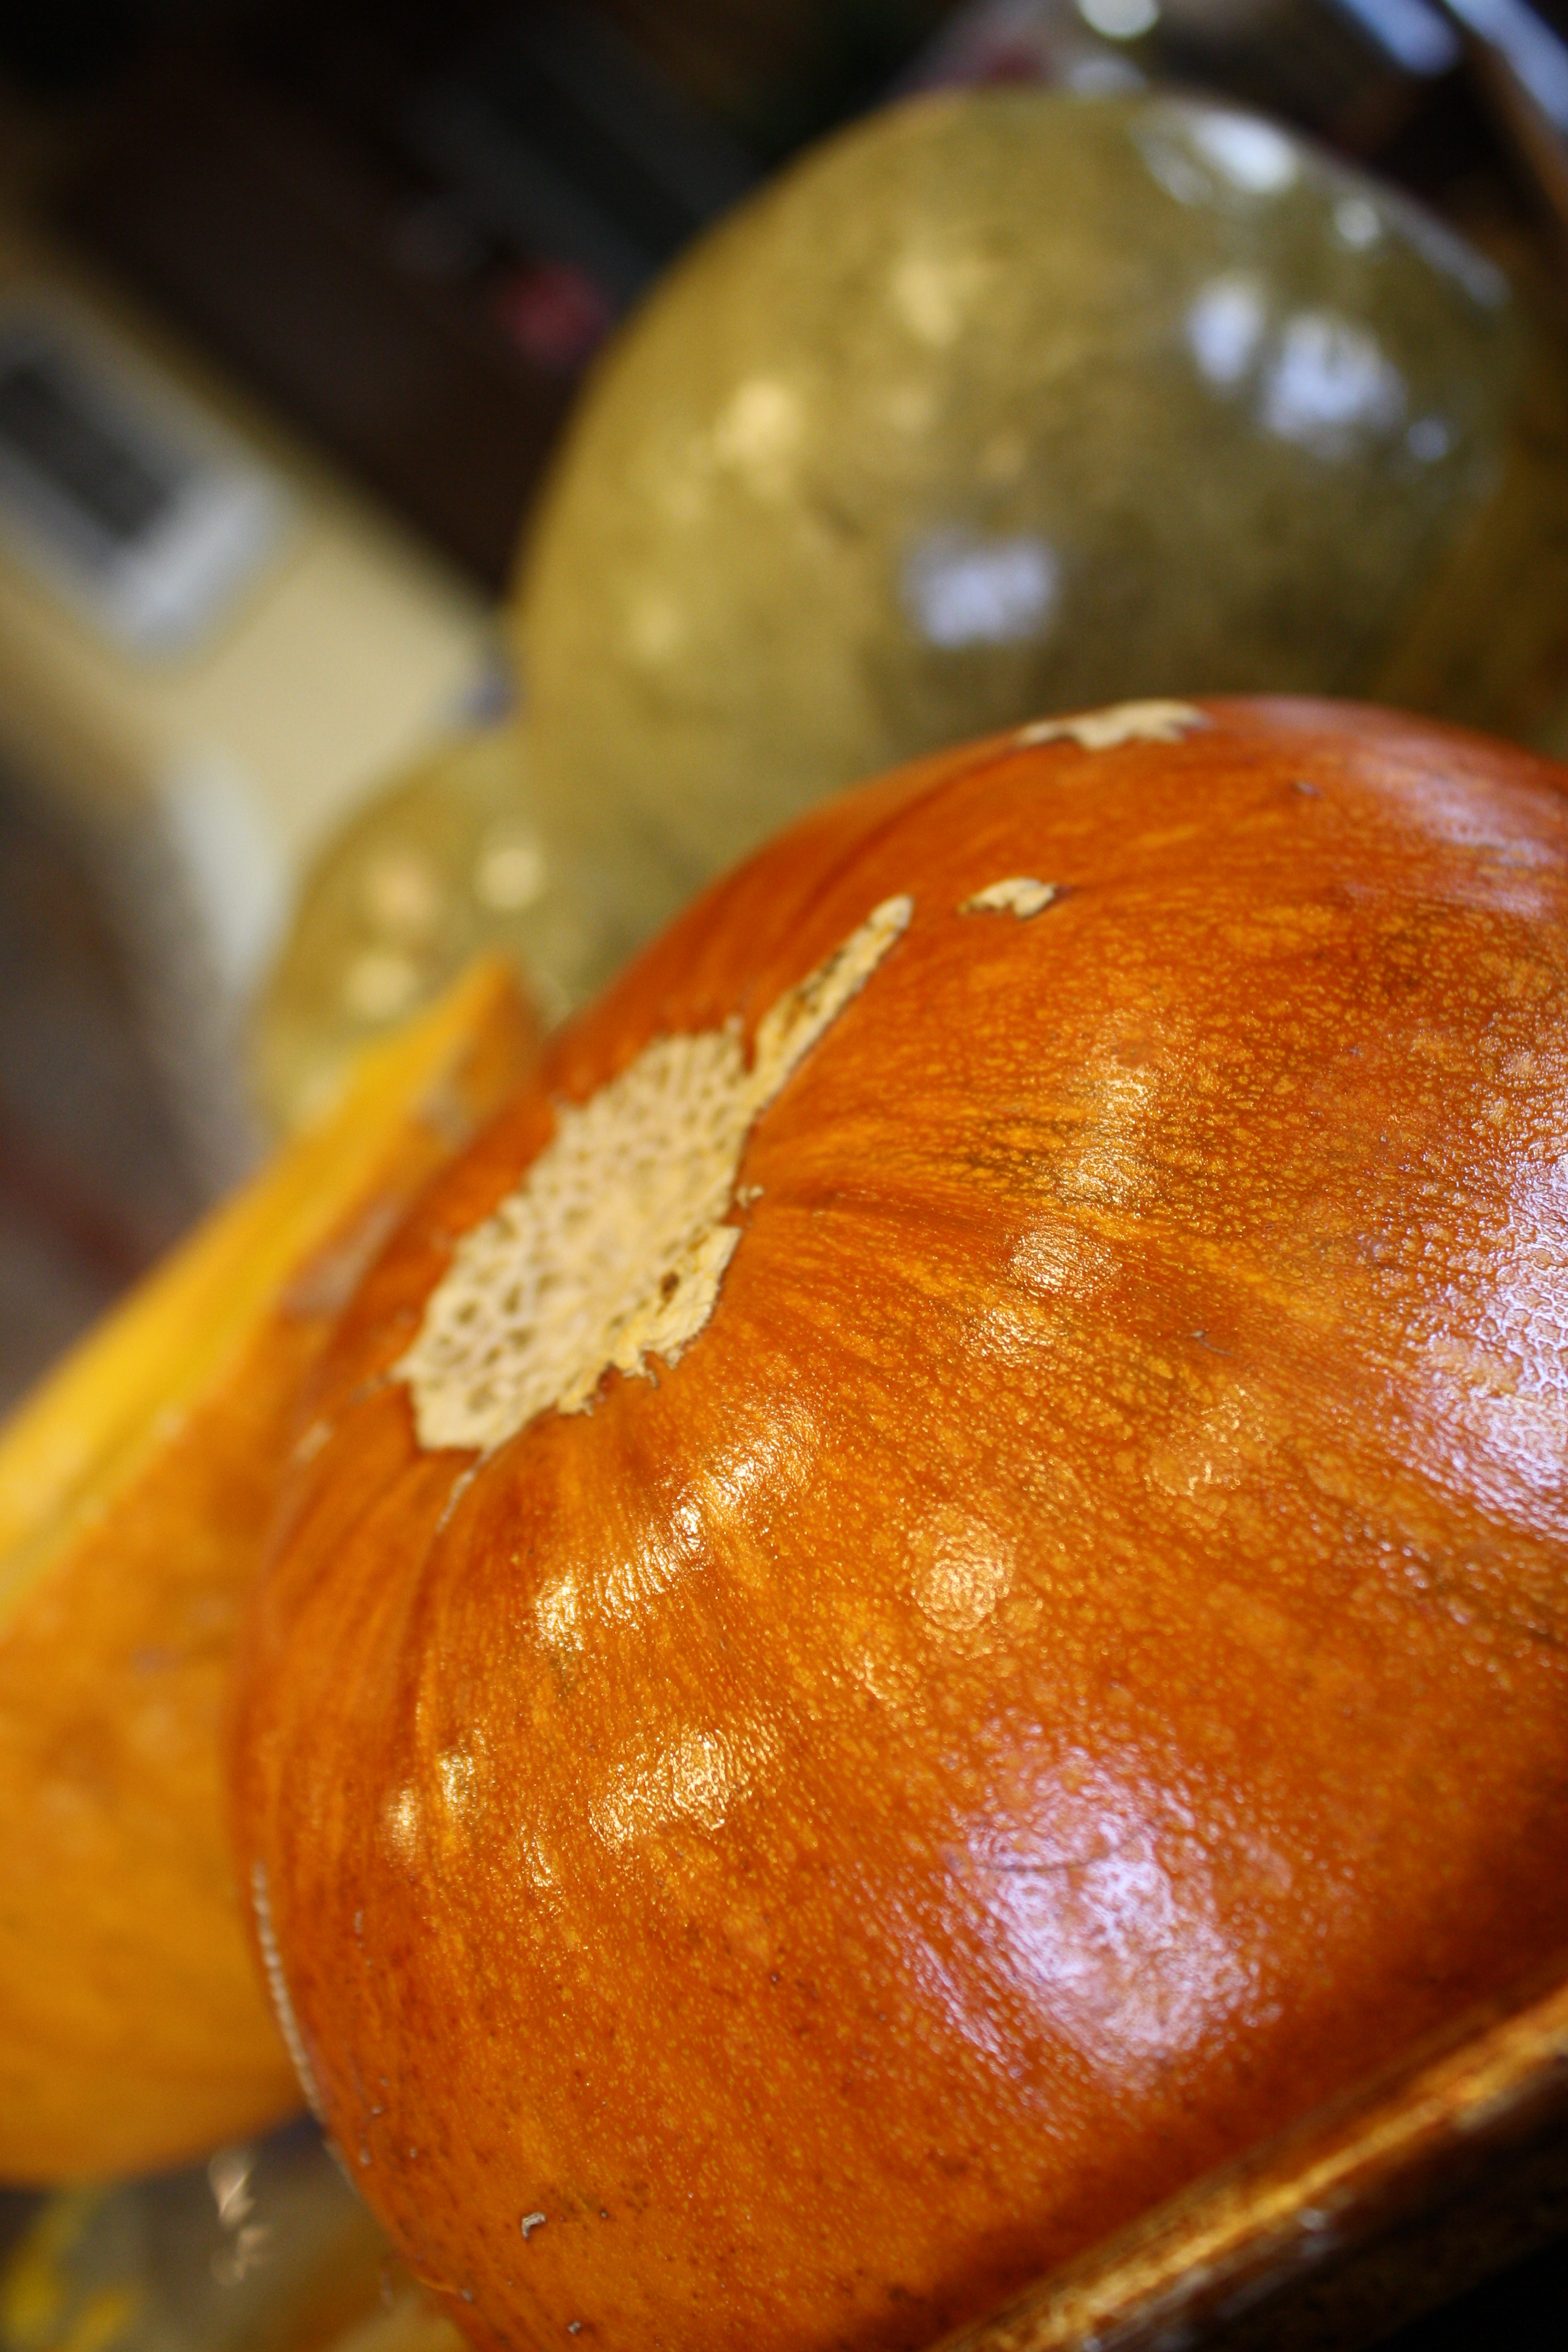
Not all pumpkins are intended for consumption. The typical jack-o-lantern we purchase for Halloween is very watery and lacks flavor. Ask at the market or store you buy from if you need help finding a good cooking squash. My favorites are : Buttercup, Kabocha, Butternut, Cinderella, Fairytale, Carnival, Long Pie, Hubbard, Sweet Meat, Chioggia, Galeux D’Eysines, and Sugar Pie (although there are endless options out there!). Sugar Pies and Butternuts are the most widely available. They key to picking a good one is choosing a GOOD EATING variety! It needs to feel dense and hefty for it’s size….a sign of good, dense, flesh! Ask your local farmer or produce person for help. When in doubt, choose a Sugar Pie or Butternut.
Cooking many squash in one day:
Stock up on a few varieties for a little taste test, find out which you like best!! Some are much sweeter than others! It is just as easy to fill two cookie sheets as it is 1, take advantage, it will save you some time and energy!
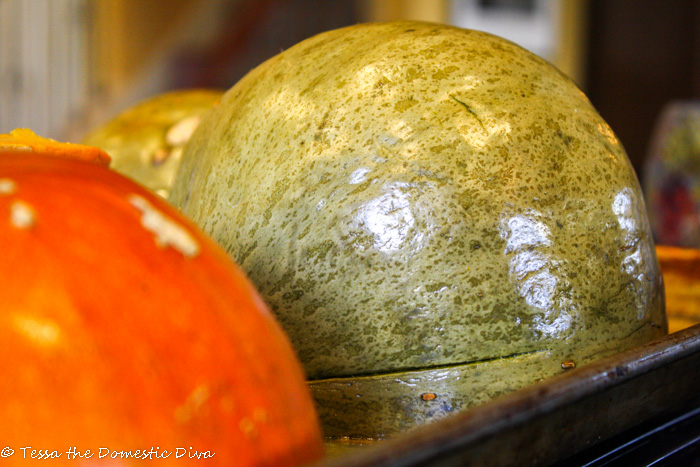
Pumpkin and winter squash variations
The water content of every squash can vary widely
One year, my normally perfect Cinderella Pumpkin was super spongy and watery (I think it cross pollinated with some other varieties). When I baked it, there were pools of water. I had to hassle with cooking the water out of it…fine, but kind of a pain. In general, stay away from any spongy or overtly soft pumpkins – too much water! Flesh should be very firm with little give when pushed.
Some squashes are very dry
so it is OK to add some water to the final flesh to puree it to desired consistency. You are going for smooth and easily scoopable, but you should not be able to easily pour it. If you have ever opened a can of pumpkin, you know what you are looking for.
Check out a list 13 varieties of winter squash great for baking!
How much puree will I get?
Typically, a Sugar Pie will yield about 2 cups pumpkin puree.
But that is a gross generalization, the size of pumpkins can vary widely!
I baked one good size Sugar Pie and one melon size Kabocha here (seen in pictures) and filled about five two-cup bags of puree.
To save on time, I like to cook large varieties of winter squash so I get loads of puree in one fell swoop!
How to cook a pumpkin in an Instant Pot?
While not my preferred method (more water and no caramelization), you can easily cook a pumpkin in your pressure cooker.
With the addition of this beloved tool into my kitchen, I now occasionally use this to cook my pumpkin and squash for puree, quick!!
Simply clean as below and cut pieces to fit onto the steamer trivet. I start with about 15 minutes on the ‘Manual’ function, but it will depend on the size and thickness of the variety you are using. Add more time if you need.
Great recipes using homemade pumpkin puree
Step by step directions on how do you make your own pumpkin puree?
Step 1
Cut your squash into half, or if it is a large pumpkin, into large chunks that will fit onto a cookie sheet. Use large knife, this can take some muscle.

Step 2
Using a large metal spoon, scrape away the innards, and if you are feeling especially ambitious, set the seeds aside to to be washed and roasted!
Step 3
Cleaned out and ready to bake, or cut to fit into an Instant Pot insert.
Step 4
Place the squash cut side down on a cookie sheet. If you are using an especially dry squash, adding a couple of tablespoons water to the pan is OK. Place the sheet into a preheated 350 degree oven. OR if using and Instant Pot, cut pieces to fit into the Instant Pot on top of the steamer trivet.
Step 4
Cooking time will vary greatly on the size of squash you are cooking. First test is to pierce the outer skin with a fork, it should easily poke through. Second, lift one of the pieces up and probe around the inside, the flesh should fall away easily w/ almost no scraping or effort. If it still seems firm, you know you need some more time. Start with about 45 minutes for an average size sugar pie pumpkin. Mine were large and took about an hour. I have had to go up 80 minutes before. If you are using and Instant Pot, start with 15 minutes on the manual setting!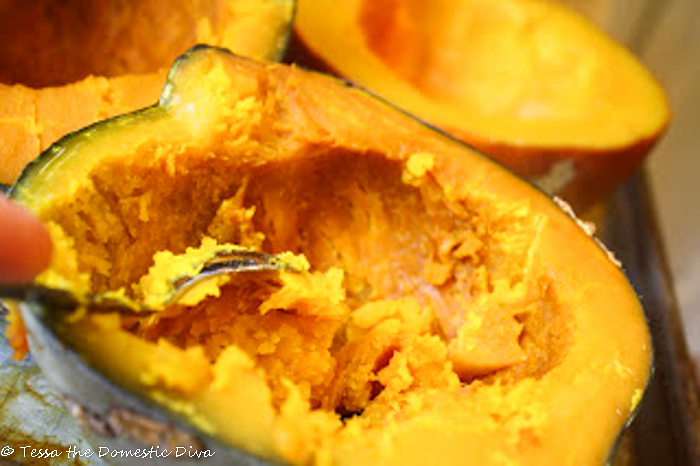
Step 5
Once the cooked flesh is cool enough to handle, scoop it out into a food processor (I LOVE mine and can’t live without it!). Whir the whole mixture for a couple of minutes until silky and smooth. With my Kabocha squash, I had to add a touch of water to give movement to the flesh within the food processor bowl. The Sugar Pie had more water content and needed no additional water to spin freely.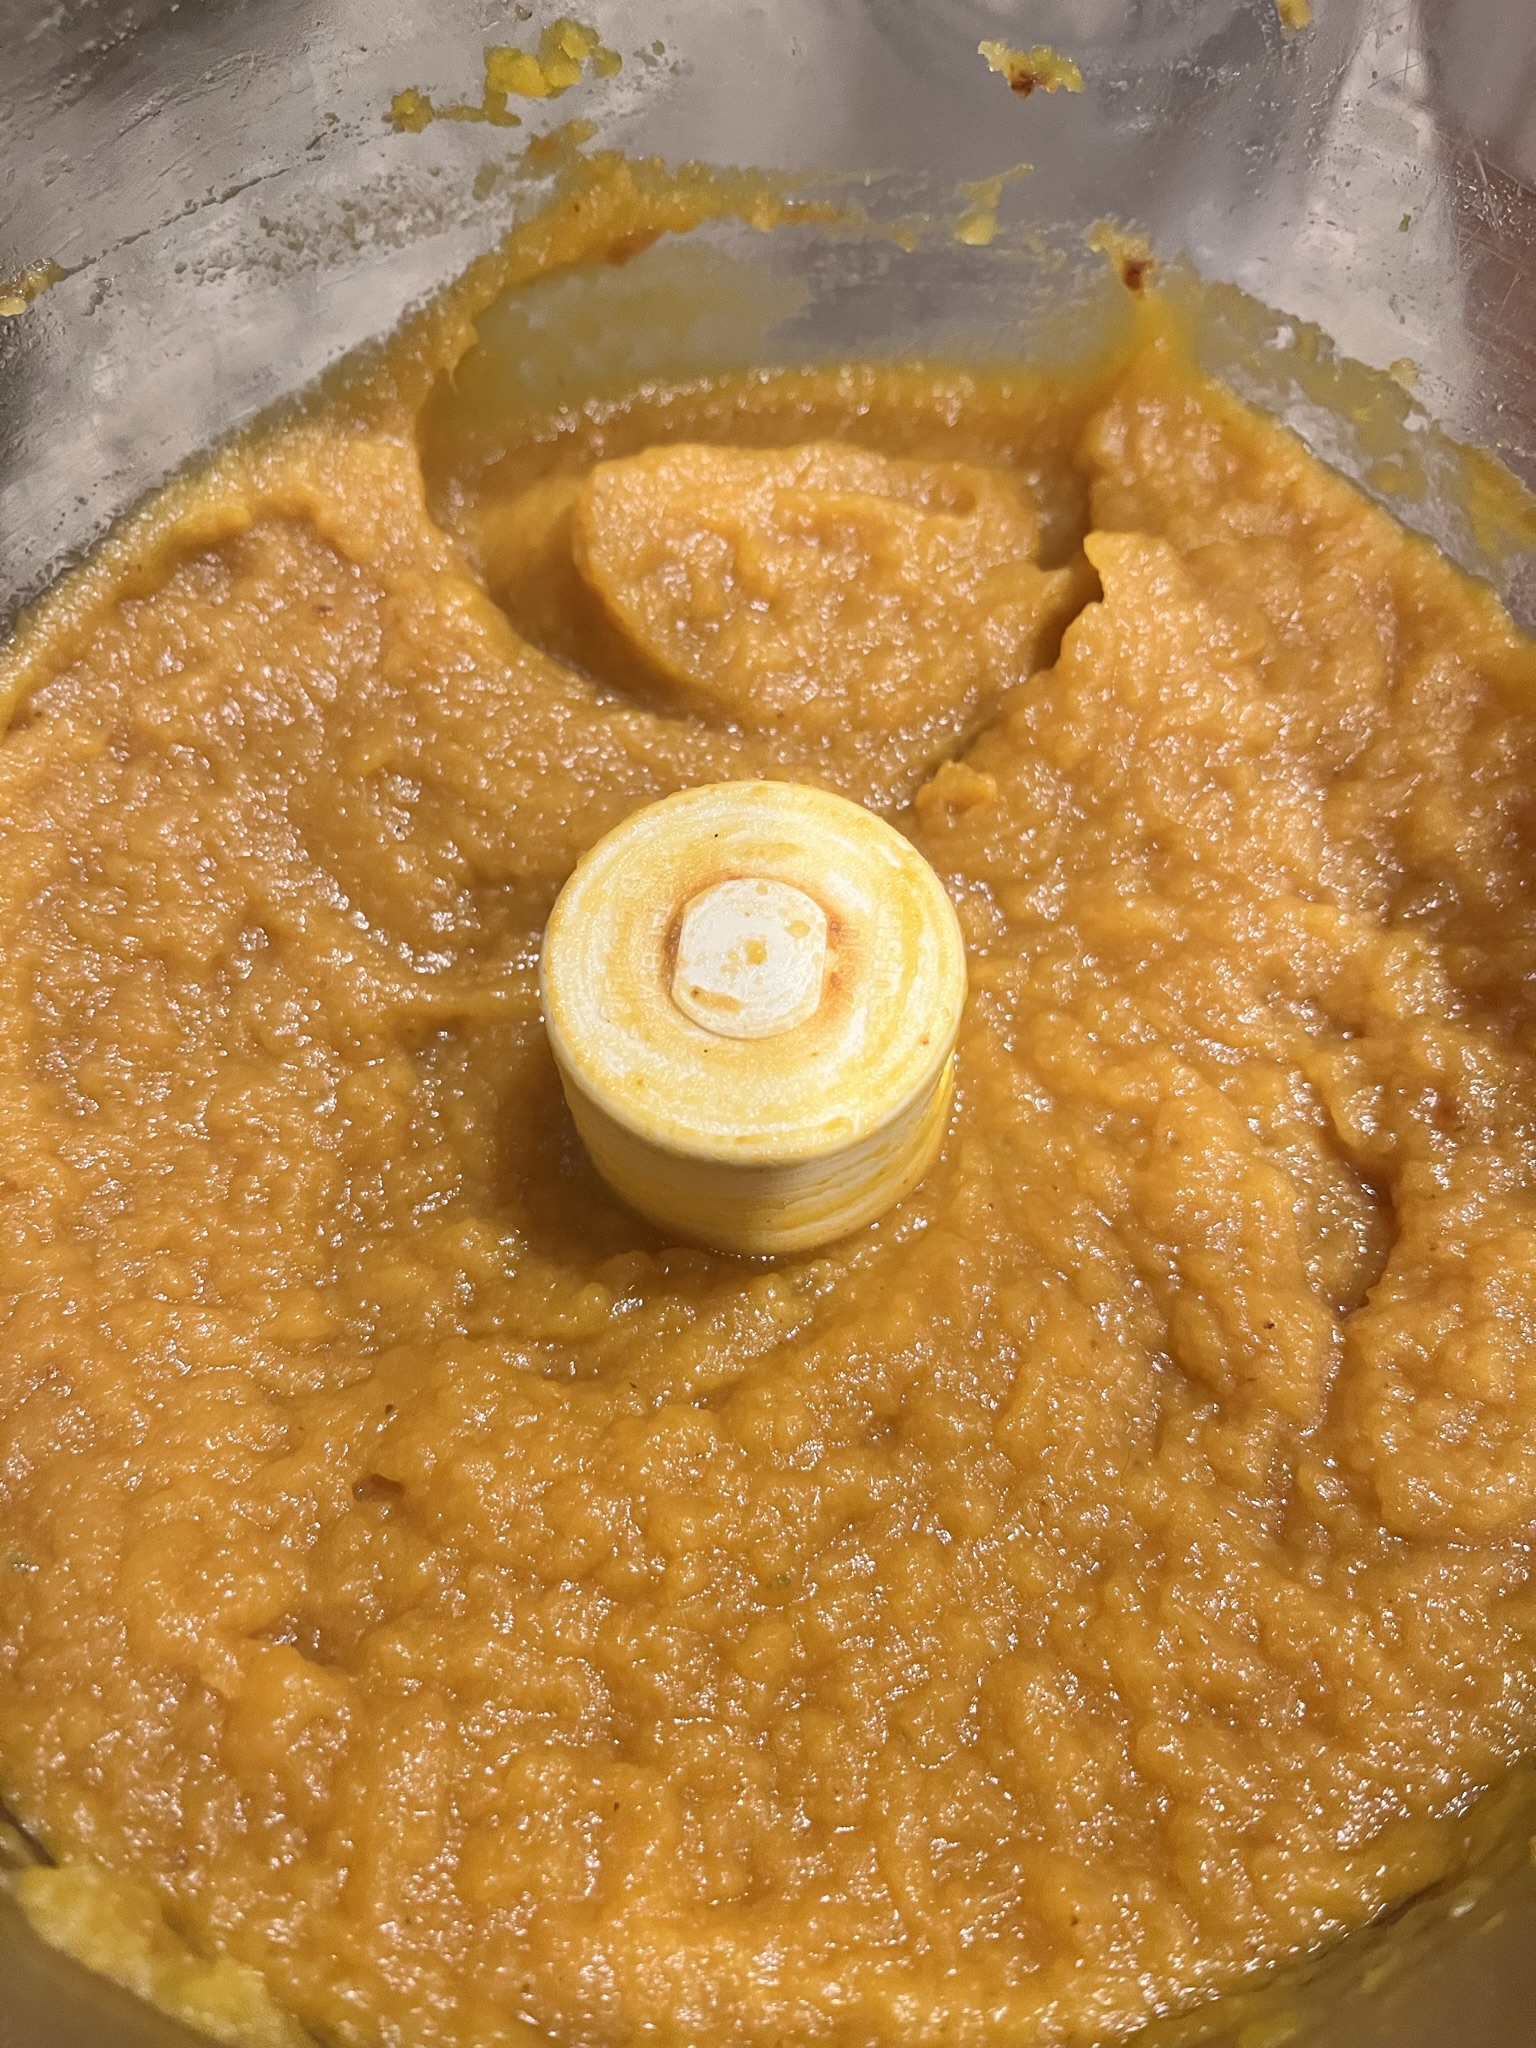
How to store homemade pumpkin puree
Your fresh puree will keep for about a week in the fridge, and up to a year in the fridge (give or take). I am pretty sure the pumpkin police will not be by your house if you pull a languishing bag from the recesses of your freezer past that mark!
Freezing suggestion:
One idea for storage is to put measured amounts (I suggest 1 or 2 cup portions) in freezer safe Ziploc bags.
Squeeze the excess air out, and squish it around to lay it flat. I stack my bags and freeze them like this:

When they are frozen flat like this, it is very easy to stack or ‘file’ them upright into the free space in my freezer.
I have also frozen the puree in glass mason jars (careful to allow an inch or 2 for expansion).
Alternately, I have most recently fallen in love with my souper cubes for all sorts of uses. My soups, sauces, and purees are easily stored in 1 cup portions which make my life so easy! I highly recommend them if you have them in your budget! The silicon mold is easily cleaned in the dishwasher, and has a convenient lid for topping and freezing solid.

How to Make Homemade Pumpkin Puree
If you try this method, be sure to come back and tell us which variety you cooked up!
Homemade Pumpkin Puree
Ingredients
- Eating pumpkin or winter squash see above info on varieties that are GREAT for eating!
Instructions
- Preheat oven to 375 degrees.
- Select a winter squash or pumpkin to cook.
- If there is a stem, smack it firmly on the side of the counter to remove.
- Using a sturdy knife, stab from the stem down. Work the knife around the middle of the squash. Depending on the size, this can take some muscle and ooompf. Just be sure the blade of the knife is pointing AWAY from your body AND your fingers!
- Break the squash in half, and use a a sturdy metal spoon to scrape the seeds and stringy pith out. Throw it all in the compost.
- Place the halved squash flesh side down on a cookie sheet. If you know it is super dry squash, you can add a couple tablespoons of water to speed the process, although not necessary.
- Place in the oven to bake. Pie pumpkins usually take around 30 minutes. Large Hubbard style squash can take over 90 minutes! If the squash is soft, skin is easily pierced, and the flesh is easily mashed and moved, you know you're ready.
- Once removed, flip squash halves over to cool.
- Once cool enough to handle, scoop flesh out and place in food processor. Process for 1-3 minutes until fully pureed and silky smooth.
- Ready to use in your favorite recipes!
- Storage options written in post above.
I still have not made my own pumpkin puree yet! Thanks for making easy directions for me 🙂
I just started making my own puree this year. The first ” sugar pumpkin” I purchased came out tasting like sweet butternut squash and mashed beautifully. The next “sugar pumpkin” came out like spaghetti squash and looked and tasted like an orange spaghetti squash. I made it into a puree , but it was weird.
Anyone had that experience?
Hi Judee! It looks like you either got a a pumpkin that was mislabeled (most likely), or just a bad one. Just like apples, even in season aren’t always great, sometimes you get not so great/flavorful pumpkins and squash.
I have taken to stalking up when I find a supplier with tasty ones…and lately I have been going for all sorts of large heirloom varieties because I can get so much puree from one fruit, it saves a lot of energy (buttercup, blue doll, kabocha, and hubbard, and other varieties I find).
I used to think this was totally unnecessary…WAY easier to buy pumpkin in a can. In Tessa’s pumpkin bar recipe, she swears up and down that fresh pumpkin is undeniably better. I had to “taste test” the recipe both ways (oh darn, pumpkin cake twice)to see for myself. Not only was I pleasantly surprised that it really is quite easy to bake your own pumpkin but it really does taste better! I also used fresh pumpkin puree in a pumpkin soup I made and it rocked. I totally get what she means about the canned pumpkin having a stronger taste so I definitely recommend fresh!
Hi, If I were making pumpkin pie, which pumpkin should I be using to make the puree from?? Thx for this post!
Hi Ana! Any squash or pumpkin that mentioned would be great, I use any purée interchangeable
Y, be it squash or pumpkin!
Great Tutorial! Thank you so much for sharing with Full Plate Thursday and hope your weekend was great!
Miz Helen
Great pics and tutorial on cooking squash. I love the idea of cooking up some extra and freezing it for quick use in the future.
I am about to do this tomorrow, so thanks for the tips! Perfect for linking up on Tuesday Greens!
Thank you for such an easy pumpkin tutorial! I love pumpkin, but am so hesitant to chop one up myself. Pinnimng this post!