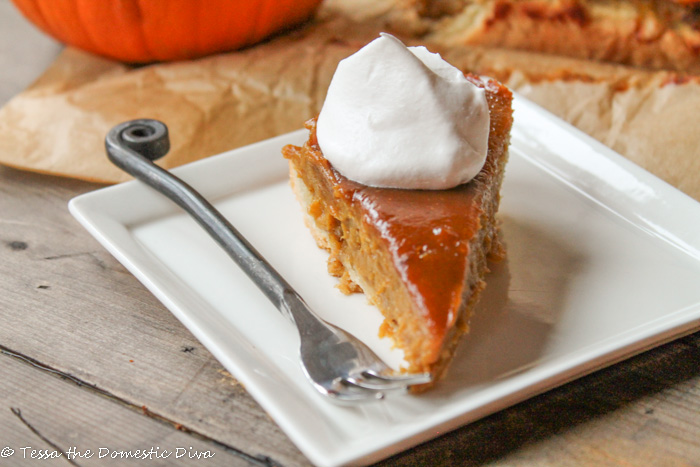
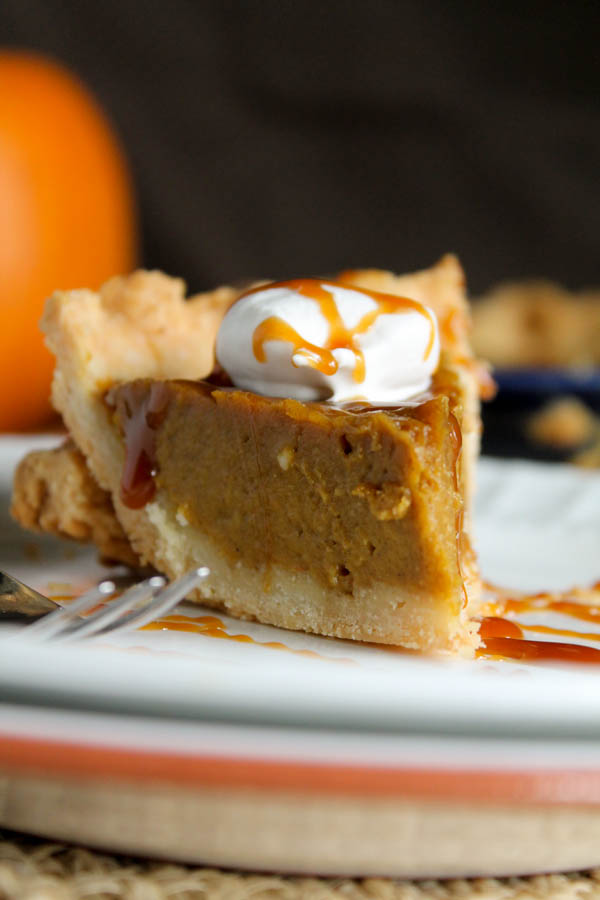
This gluten free pumpkin pie is holiday treat…any time of year! Fragrant pumpkin goodness, flaky crust, and no refined sugars or grains to boot! It’s also easily made dairy free too!

My whole family was in absolute heaven when I created this recipe…a pie you can swoon over, and not feel too guilty about eating!
My daughter exclaimed, “If all my vegetables tasted like this, I wouldn’t even eat my dessert first at school, I would eat my vegetables!” Sigh. Out of the mouth of babes!
Alas, I didn’t want to clarify that anything sweetened should be called a dessert and not a vegetable: this is a wholesome treat to be feeding my family regardless!
Making pumpkin pie from scratch requires minimal ingredients and just a bit if technique when it comes to the crust! I often make a double batch while I am at it to make my favorite dairy free chicken pot pie with root vegetables…you’ll never look at the humble pot pie the same again!
Pumpkin pie using fresh pumpkin
I use fresh pumpkin puree for my pies….it really takes them to the gourmet/utterly amazing level.
Unfortunately, not all pumpkins and squashes SHOULD be baked and eaten.
Like any fruit or vegetable, picking the best and ripest ones ensure success and mouthwatering results.
I go into some detail about choosing and baking your own squash and pumpkin in this post.
Ultimately, you can use a can too, but I wanted to encourage you to try using fresh! It will set your pie over the top!

Gluten Free Dairy Free Pumpkin Pie?
Since I opted to use all grain free flours for this crust recipe…creating a totally dairy free and paleo pumpkin pie was in order!
I rarely used refined sugars, and I love the caramel flavors palm sugar adds to this recipe. BUT, you can use plain ole sugar if you like…or even some erythritol for a lower carb version!
For the milk in this pie, I have tested the recipe with a variety of FULL FAT milks (the fat is needed to have the ideal creamy texture).
I used coconut milk first…but if you have anyone who hits the hills at any whiff of coconut….then turn to your own homemade creamy nut milk! I whir 1 cup of raw cashews into 3 cups water in my blender. Super creamy and rich is the key…the thin carton milks with a nut or two in a cup of milk won’t cut it!
If dairy is tolerated, half and half or evaporated milk are great options too!
And if you are low carb, try using this keto low carb pie crust as a base! Or for a more fluffy texture, try this pumpkin mousse pie!
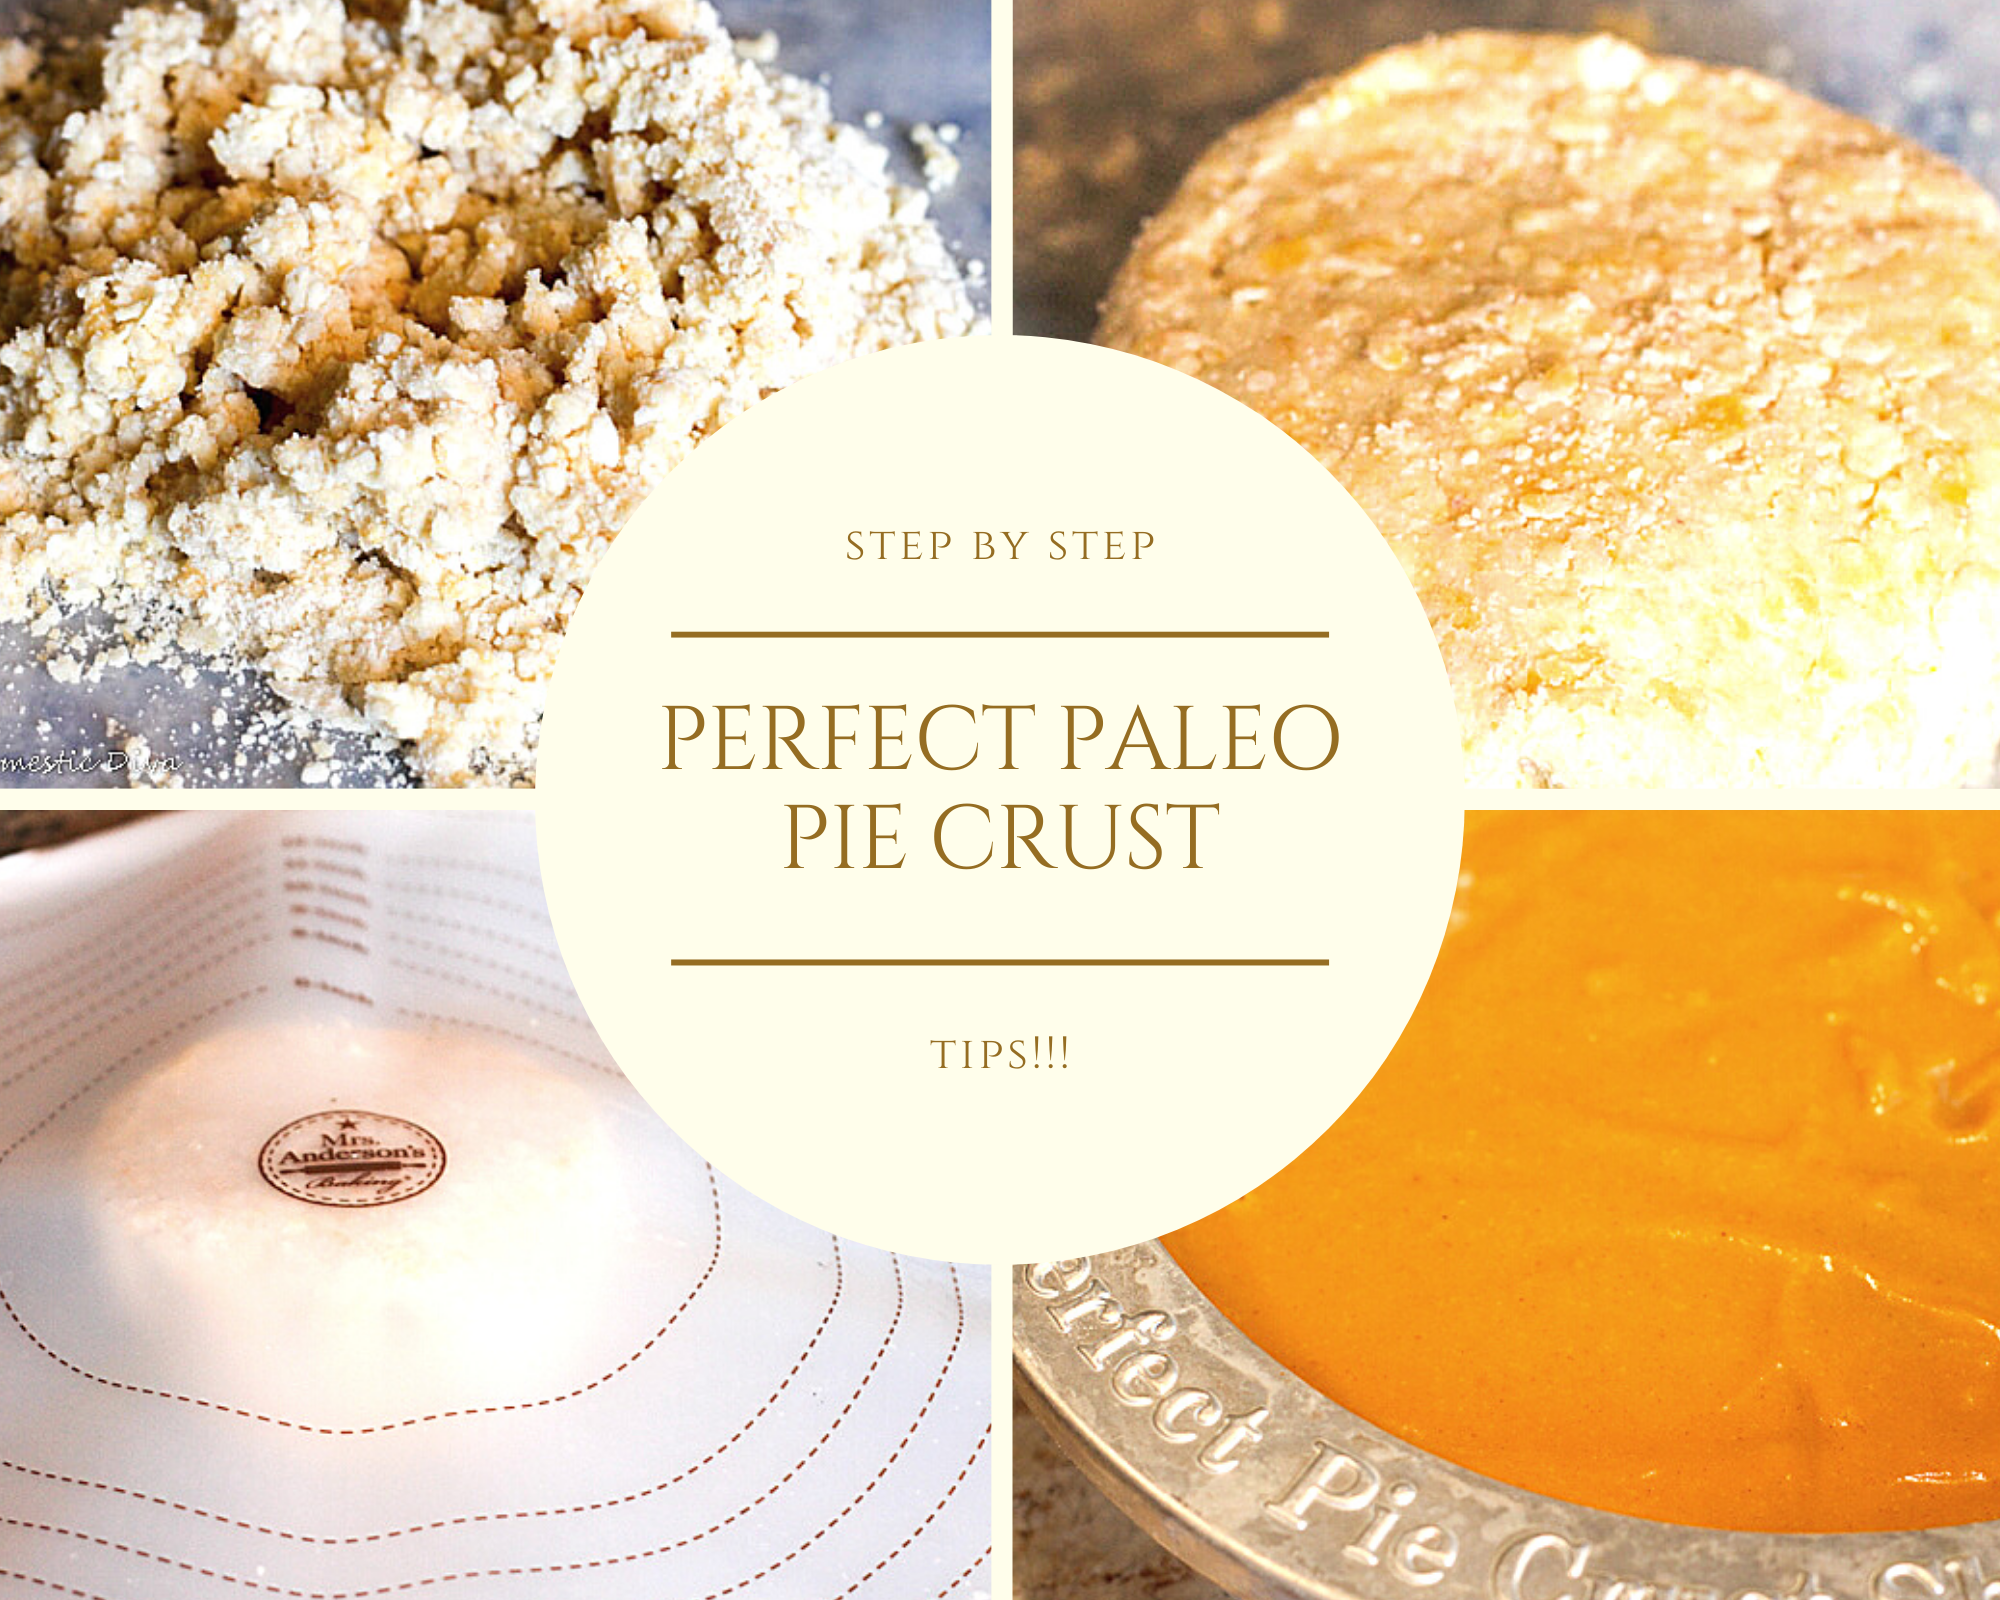
Tips and tools for making the perfect paleo pie crust:
I have spent a lot of time making pie crusts over the years. In the beginning, I was SO intimated by them!
I have learned that more than anything, the TECHNIQUE is most important here, not as much the flours you choose!
Here are a few tips and tricks I have learned over the years that I can now share with you!
- COLD ingredients make for a the flaky texture! So I have stripped that down to using FROZEN butter chunks, OR placing the whole food processor bowl in the freezer to chill. It is also why I place the crust in the freezer after shaping the dough in the pie plate!
- It is important that there visible chunks of whatever fat you choose….it is NOT supposed to be blended all in! Cold ingredients help to make sure the fat doesn’t melt and disappear.
- While I have done this with a good old pastry cutter by hand, I much prefer using my food processor to handle this job. It makes it SO much easier!
- It’s important that the right amount ice water is added. Just enough to press together easily and not crumble! Please refer to picture, that is my completed dough dumped out onto my pie crust bag! Once formed and kneaded a couple of times…note the look!
- The pie crust bag transformed crust making for me! It takes al the guess work out of it size wise, and enables me to easily pick up and move my rolled pie crust. I HIGHLY recommend you invest in one! They have inexpensive plastic ones which are great, but they do not last as long as the silicon version.
- Finally, the pie crust shield just ensures that the crust edge is not overcooked after the extended cook times. Inexpensive and easy! Alternately, you can gently place a piece of parchment or foil over the whole pie half way through the cooking time. Just be careful the paper does not rest on the pumpkin custard and mar the surface.
Finally, I really like this simple video on different ways to shape your pie crust edges!
Additional gluten free Thanksgiving recipes to try:
- We love my tender and fragrant paleo pumpkin bread!
- This paleo chocolate cake with pumpkin is for all the chocoholics in your life!
- A bowl of Whole30 pumpkin chili would warm you up on any cool day!
- We love my gluten free egg free pumpkin rolls for a special breakfast treat!
- These oven roasted garlic, bacon, and brown sugar green beans look special!
Gluten free pecan pie is another classic Thanksgiving treat, and this one has no corn syrup!
Gluten Free Pumpkin Pie Recipe:
If you try this special from scratch pumpkin pie, be sure to come back and leave a comment and review!
Gluten Free Dairy Free Pumpkin Pie
Ingredients
Paleo Pie Crust
- 1 cup almond flour
- 1 cup tapioca flour
- 6 tablespoons butter or rain forest safe palm shortening, COLD!!! I use it frozen. Cut into 6 chunks.
- 1 large egg medium size works too
- 1/2 teaspoon sea salt
- 3 tablespoons ice water up to 6, JUST to bind, not wet.
Pumpkin Pie Filling
- 2 cups fresh pumpkin puree or 1 15 oz can
- 3/4 cup palm sugar could use erythritol or cane sugar too, or any combo thereof.
- 3/4 cup full fat coconut milk or thick homemade nut milk. Extra fat needed for best texture, carton milk not ideal. Half & half or evaporated milk would also work.
- 3 large eggs
- 2 teaspoons vanilla extract
- 1 1/2 teaspoon cinnamon or pumpkin pie spice. More allowed if you like it extra 'spicy!'
- 1/2 teaspoon sea salt
Instructions
Make Your Paleo Pie Crust
- In the bowl of a food processor, place all ingredients EXCEPT the butter, egg, and water.
- Pulse a few times to mix thoroughly. Drop in the extra cold (even frozen!) chunks of butter. Lock on lid, pulsing until fat resembles pea size or smaller crumbles. Do not run so long that there are no visible chunks left.
- Pulse in the egg.
- Now pulse in 3-6 tablespoons ICE water...just until the dough can be easily pressed together and hold. (please refer to picture above in post to observe proper look)
- Turn out onto a tapioca floured surface (or make your life easy and use a pie crust bag!, pictured above). Knead a couple times to gather into a cohesive ball. The dough should feel nice and cold. Don't handle it so much your warm it up and melt all the visible fat pieces (they're a key to the flaky texture). Roll out to about a 12" circle. large enough to have extra laying over the outside of the pie plate.
- Invert pie dough over into a 9" pie plate. Use scissors to trim the edges evenly so that there is about a 1/2" hanging over the edge. Gently fold the extra under the edge. Crimp as desired. If any cracks appeared when you flipped, no biggy to pinch and press together with your finger tip! Place in the freezer while you continue.
Make Pie Filling
- In the jar of the same food processor, place all the filling ingredients and whir until all blended and creamy.
- Preheat oven to 425 degrees
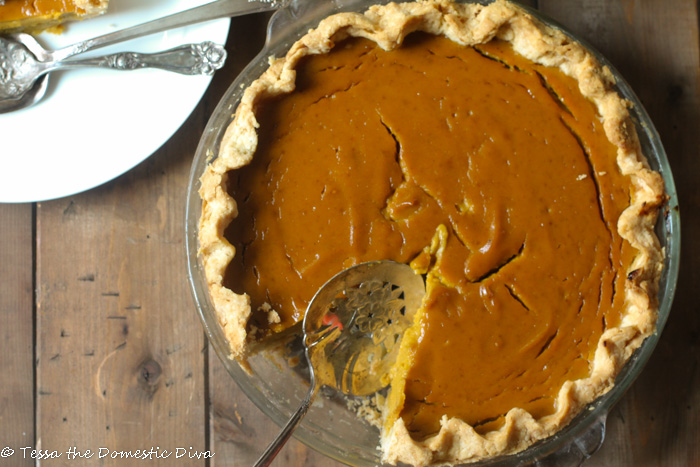
- Once the oven is ready (we wanted extra time for the crust in the freezer), pour the filling into the cold crust. Cover the edges with a pie crust shield (pictured above) to prevent over-browning. Place in oven and set timer for 20 minutes. We're preheating all that filling at this high temp!
- Once timer beeps, reduce oven temperature to 350 degrees and continue baking 45-55 minutes. Edges should be firm, middle should be just set.
- Pumpkin pie needs to chill completely to achieve the right texture. I speed this up if needed by starting the cooling in the freezer before finally moving to the fridge for a few hours. Otherwise. Place in the fridge for 4-6 hours!
Nutrition
Your pumpkin pie looks delicious, Tessa! I love it when healthy is delicious too! Thank you for sharing with us at the Hearth and Soul Hop. Sharing! Hope to ‘see’ you again this week 🙂
This is the best pumpkin pie I have ever had. I have never, ever liked pie crust until I had this one. You made a seriously award worthy recipe here.
I used ghee as my fat in the crust and added 1/8 tsp nutmeg and an 1/8 tsp allspice to the filling, as well. It was so amazing. My husband loved it and is very particular with his pie crust!
I will continue to use this recipe for years to come! Thank you so much for sharing!
Thanks Caitlin! So glad you liked it so much!! I appreciate your feedback.
Thanks so much for sharing this with us at Savoring Saturdays, Tessa! It was the most popular link (with good reason, I think ;), so we’ll be featuring it at this weekend’s party. Hope you’ll come share with us again! 🙂
Thanks for linking up at our Gluten Free Fridays Party! I have tweeted and pinned your entry to our Gluten Free Fridays board on Pinterest! 🙂 I can’t wait to see what you share next time!
-Cindy
Hope you are staying warm and cozy in this cold weather and thanks so much for sharing with Full Plate Thursday.
Come Back Soon!
Miz Helen
Thanks for sharing this tasty and healthy pumpkin recipe with us at Real Food Fridays blog hop. Twitted.
Wow! This does not look as healthy as it is. I saw the recipe at The Happy Housewife, and now I am sure that I must make it!
Hi Tessa, this looks absolutely AMAZING! I might just be missing it, but I couldn’t find the link to recipe?
-Cassidy
SOrry, it is there now Cassidy!
Where is the recipe?
Sorry Renee, see the link on the bottom of the post now!